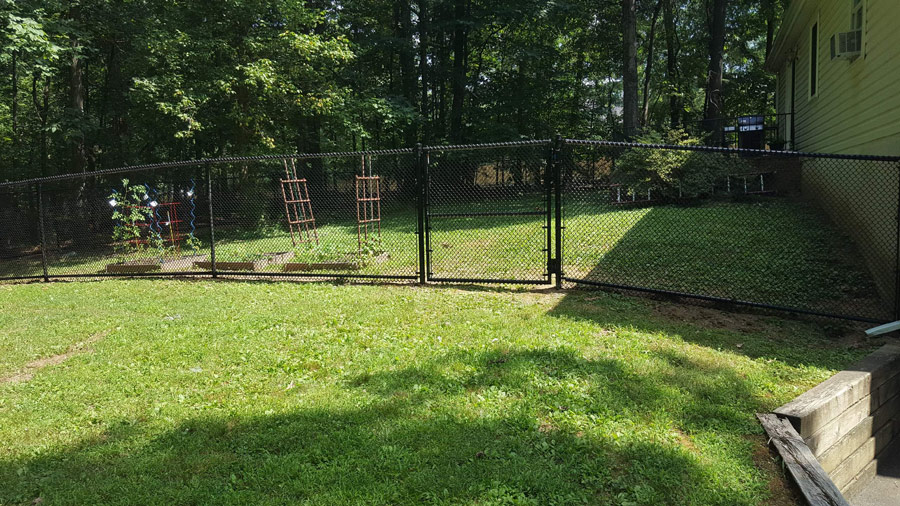
Chain link has long been the fence material of choice for backyards because it is fairly inexpensive and relatively easy to install.
A good, sturdy fence is a great addition to almost any property because they establish boundaries. They keep some stuff in and other stuff out. All that “stuff” can be any facet of home life – from the balls and toys and pets and kids that you need to keep in your property line to the excess noise, prying eyes, and local wildlife that you want to keep out.
Chain link has long been the fence material of choice for backyards because it is fairly inexpensive and relatively easy to install. It is actually easy enough that many people take it on as a DIY project. Before you do, read these tips for installing a chain link fence correctly.
Check The Rules
It is important to always check the rules governing where you live before settling on a fence you want. The city or county that you live in more than likely has rules about how tall your fence can be and where it can be located. For instance, consider how close it can be to the corner, a roadway, or an alley.
Likewise, be mindful of where it has to be relative to swimming pools. In addition to that, there will likely be additional HOA by-laws. These extra guidelines pertain to the materials that you can use, the height that it can be, the color that it can be, and other such attributes of your new fence.
Prep The Posts
Once you’ve decided on the height and the other qualities of your chain link fence, it’s time to start with the posts. These have to be set correctly, and it’s important to remember that it is actually a great deal of work. While this is a project that you could DIY, there’s no shame in having a professional do it instead because it is exhausting work. Your fence post holes should be about three times as wide as the fence post itself.
Aim for 6-8 inches wide for line posts and 10-12 inches wide for corner posts. The holes need to be at least as deep as 1/3 of the length of the pole, plus you’ll want to add another four or so inches that you’ll fill with gravel before setting the post. Starting with ends and corners, fill the holes with concrete and then set the posts in them. You need to make sure that all the posts are level in all directions. Once the holes are filled, align the poles. Then pile the concrete around the pole until it slopes on all sides. This mound will help protect the pole and allow rainwater to run off.
Bands, Caps, Rails, and Coils
The next step is to install the tension bands, which is the part that keeps the fence upright. How many tension bands you need will depend on the height of your fence, and the instructions that come with the chain-link should help you. After that, you’ll need to install the post caps and the rails to complete the framework, and then you can install the chain link “fabric” and tighten everything down.
Hercules Fence of Virginia Beach Has Everything You Need!
Call Hercules Fence of Norfolk and Virginia Beach for your fencing needs. We have decades of experience in the fencing industry. We can offer you the best in ornamental steel, chain link, wooden fences, and more. Our dedicated teams of fencing professionals are highly trained, skilled, and experienced in providing quality fence installations of any type. We’ll work with you to find a fence that best suits your needs and budget.
Contact Hercules Fence of Virginia Beach at (757) 321-6700 or contact us on our website to learn more about fall and winter fence construction! In addition, you can keep up to date with offers and information from Hercules Fence of Virginia Beach on Facebook, Pinterest, LinkedIn, and Twitter.


